
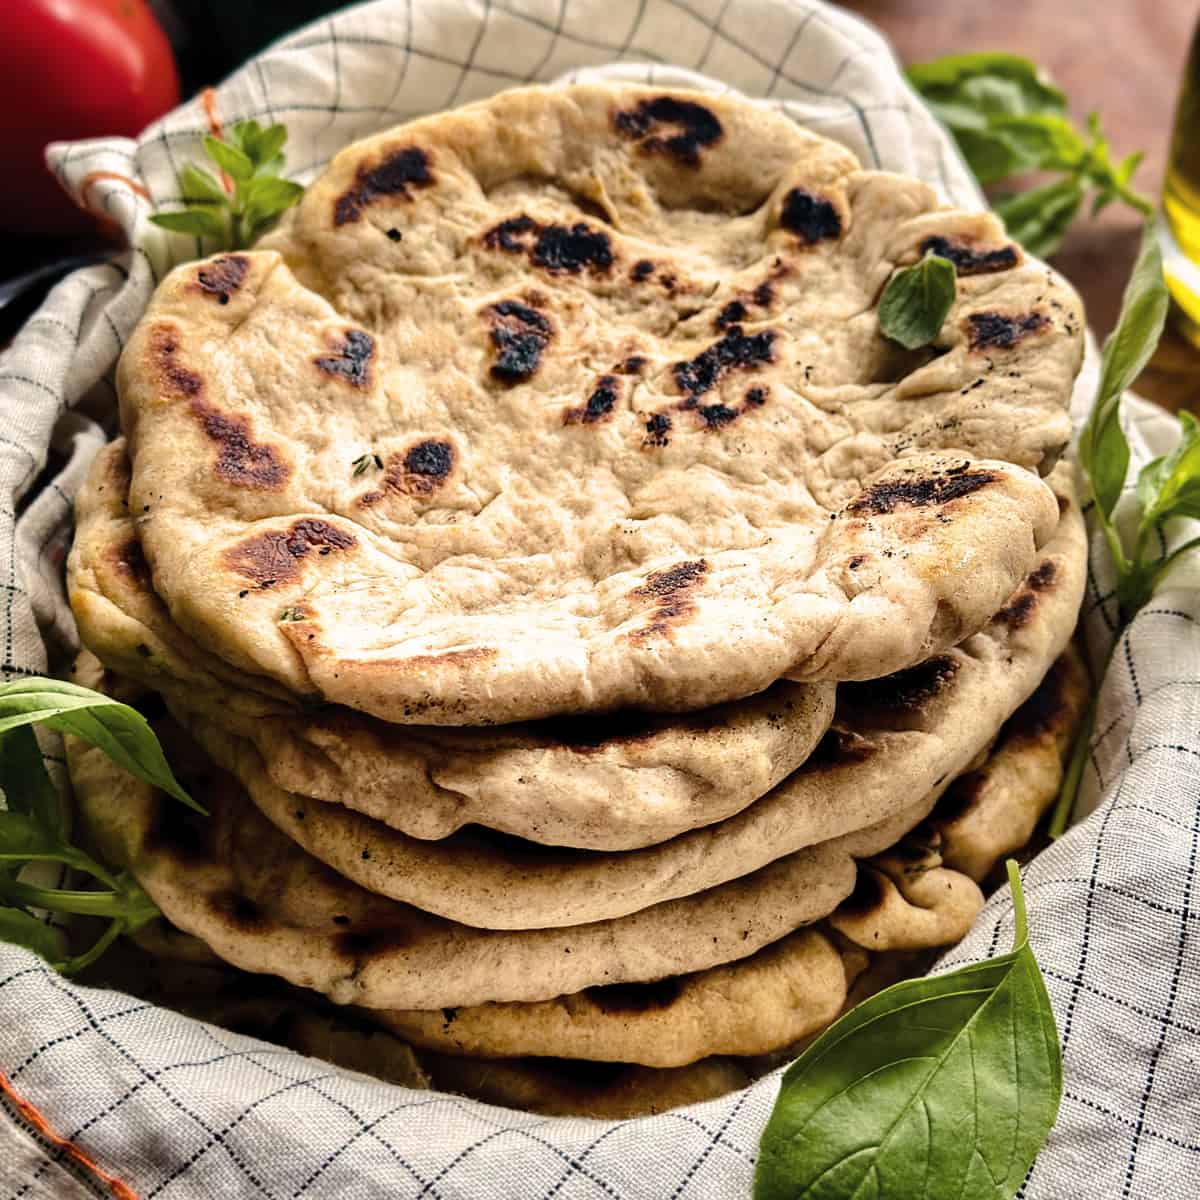
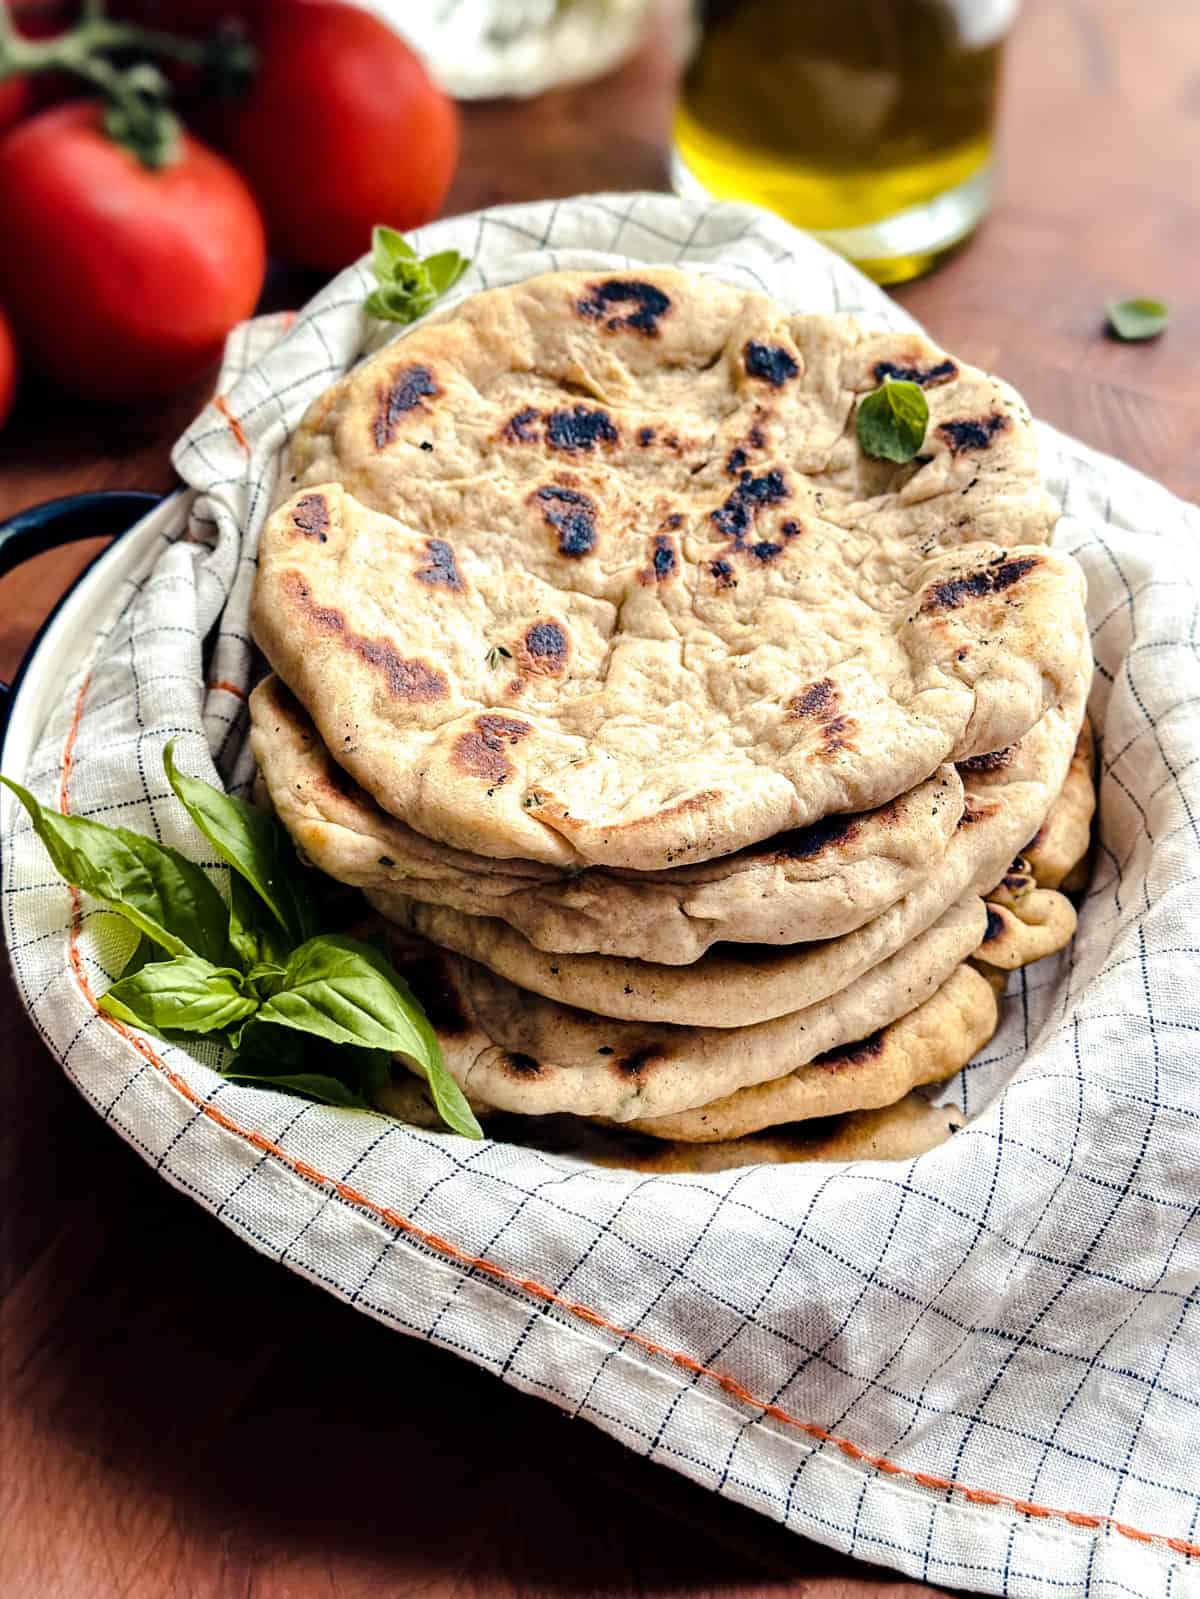
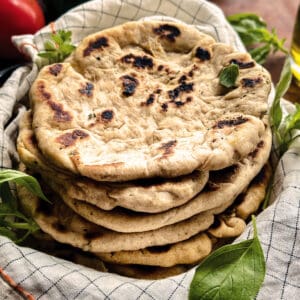
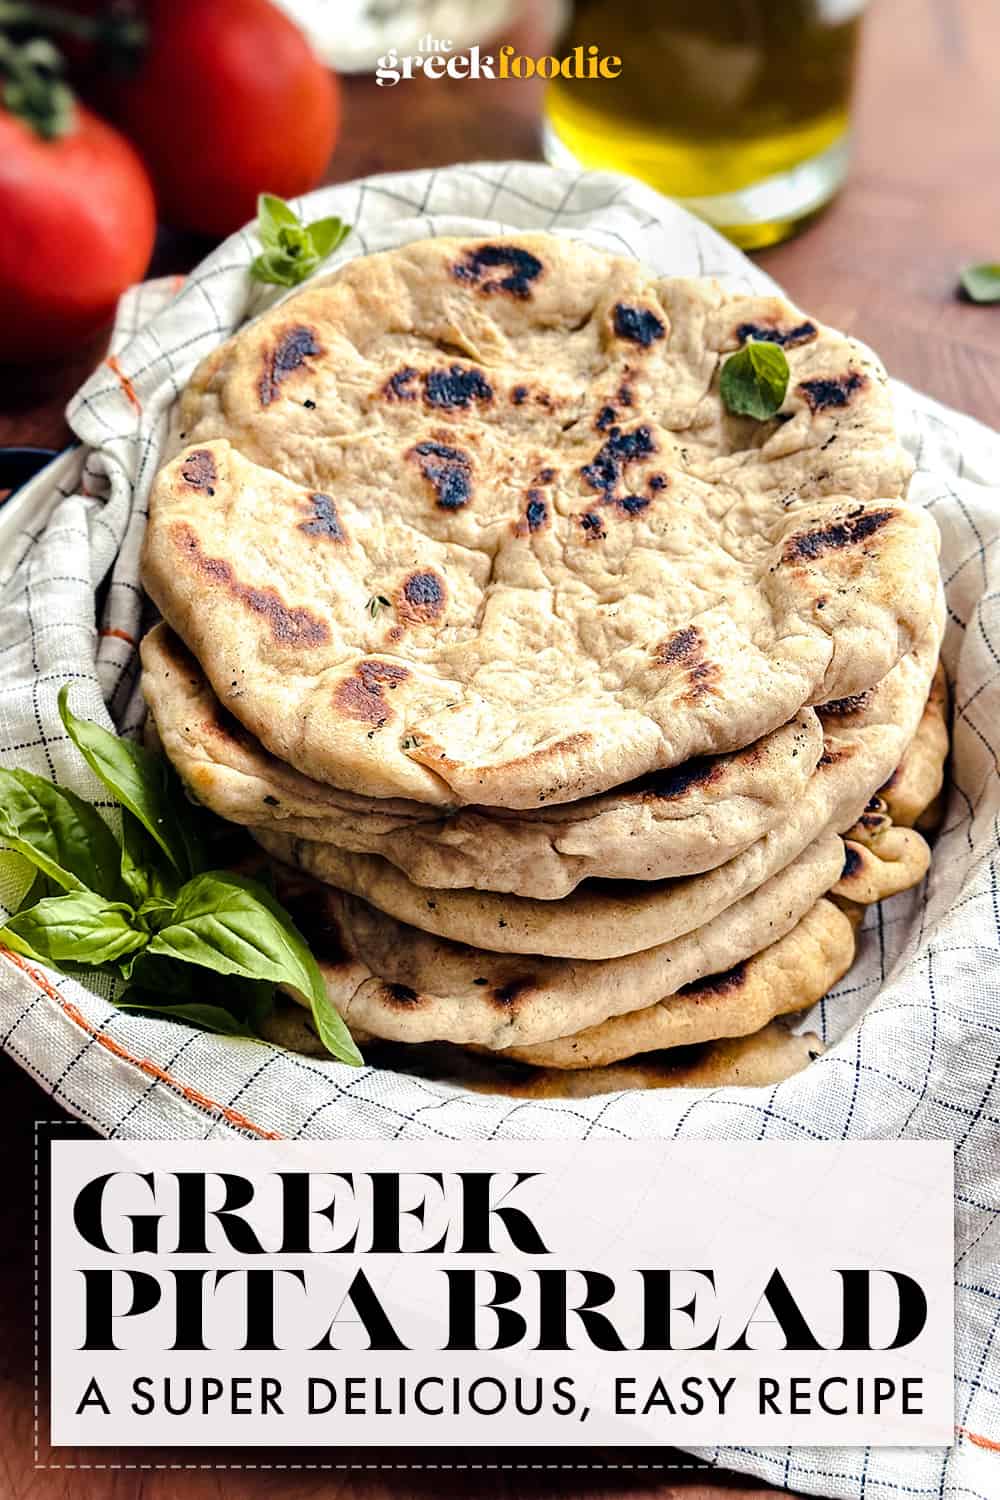
This easy Greek pita bread recipe makes soft, fluffy flatbreads —perfect for souvlaki wraps, dipping into tzatziki yogurt sauce, or serving with your favorite Greek meze. Made with simple ingredients, it’s a must-have for any Mediterranean kitchen.
This recipe has been updated with a new copy, images, and clarification on some of the ingredients and cooking method.
If you love our Greek pita bread recipe, you will also love our chicken souvlaki with pita, pork skewers, tzatziki chicken bowls, and homemade chicken gyros!
What cooks say:
“OMG, this pita was sooooo yummy. I made it with my 10-year-old daughter this afternoon, and it was so easy, and the whole family absolutely loved it. Thank you!!”
Julie
Why you will love Greek pita bread
Here is what you need
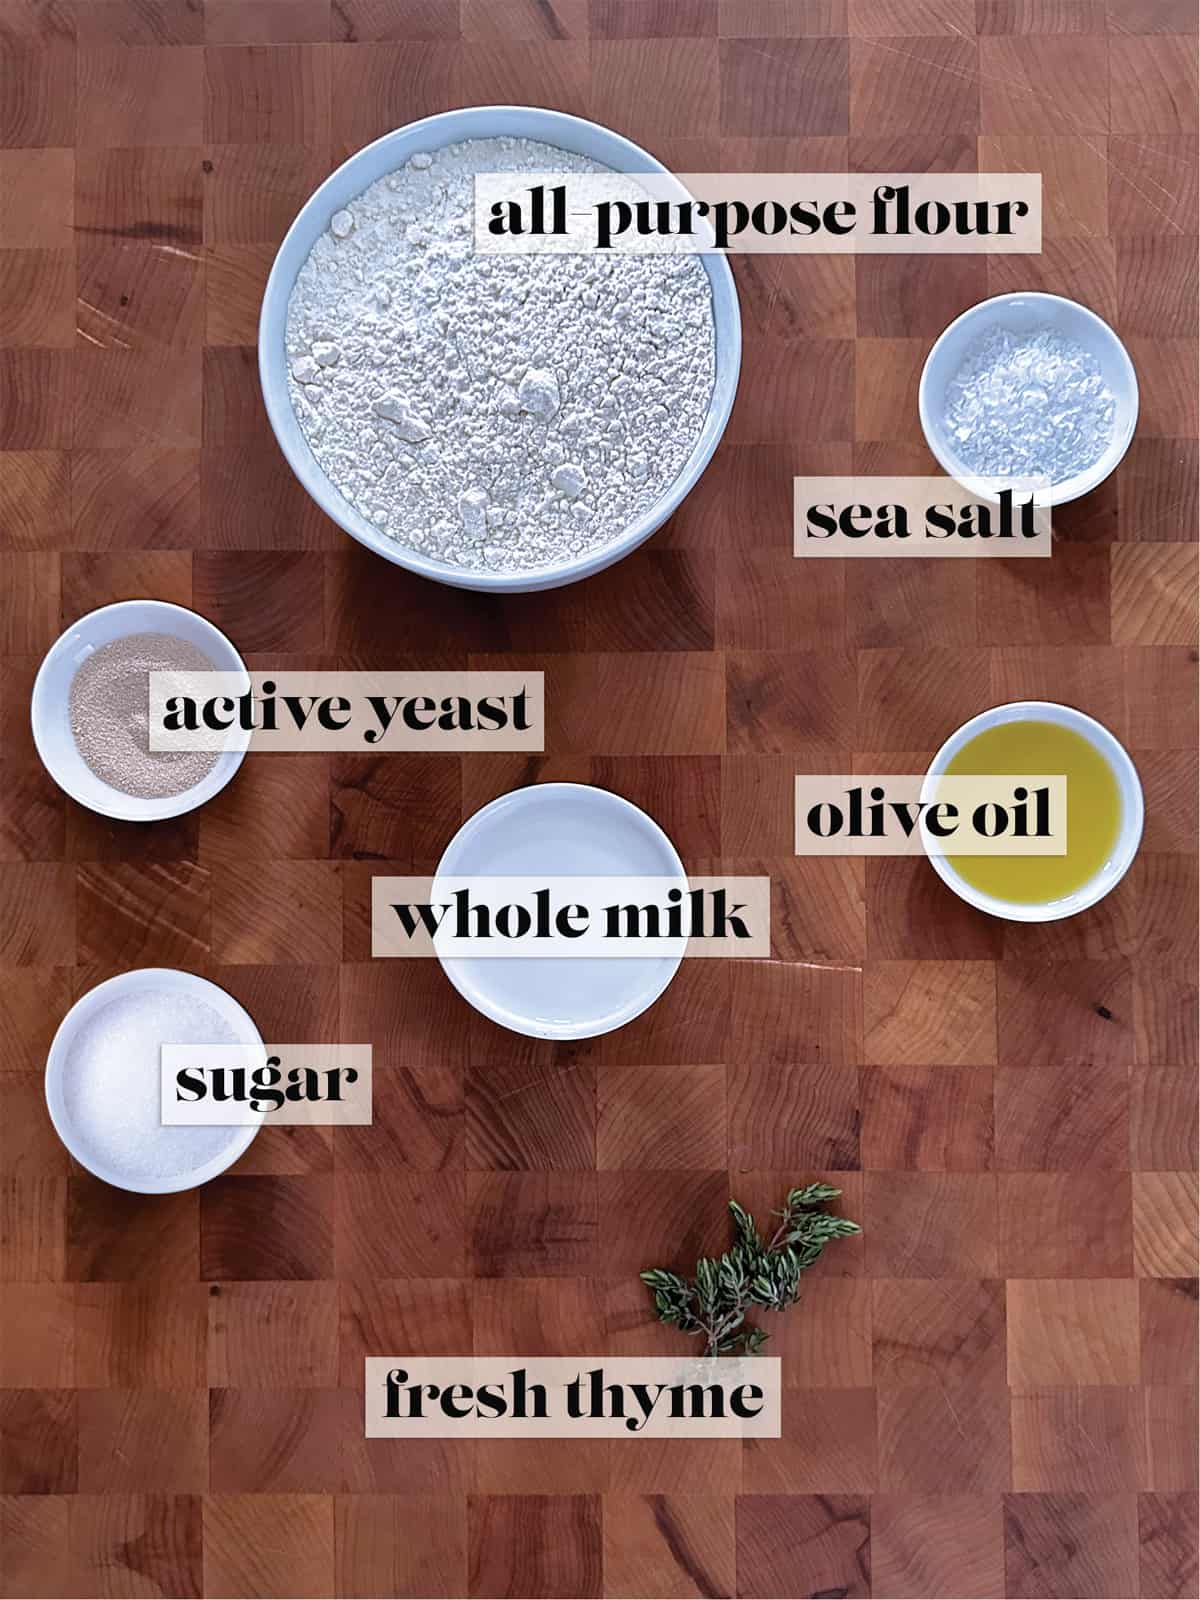
- All-purpose flour.
- Sea salt.
- Fresh thyme leaves. Substitute with dried thyme or oregano.
- Active dry yeast.
- Sugar. I have used both white sugar and brown with the same results.
- Milk. I prefer whole milk. You can use skim milk if that is your preference. Plant milk also will work just fine to make vegan pita bread.
- Extra virgin olive oil.
Step by step
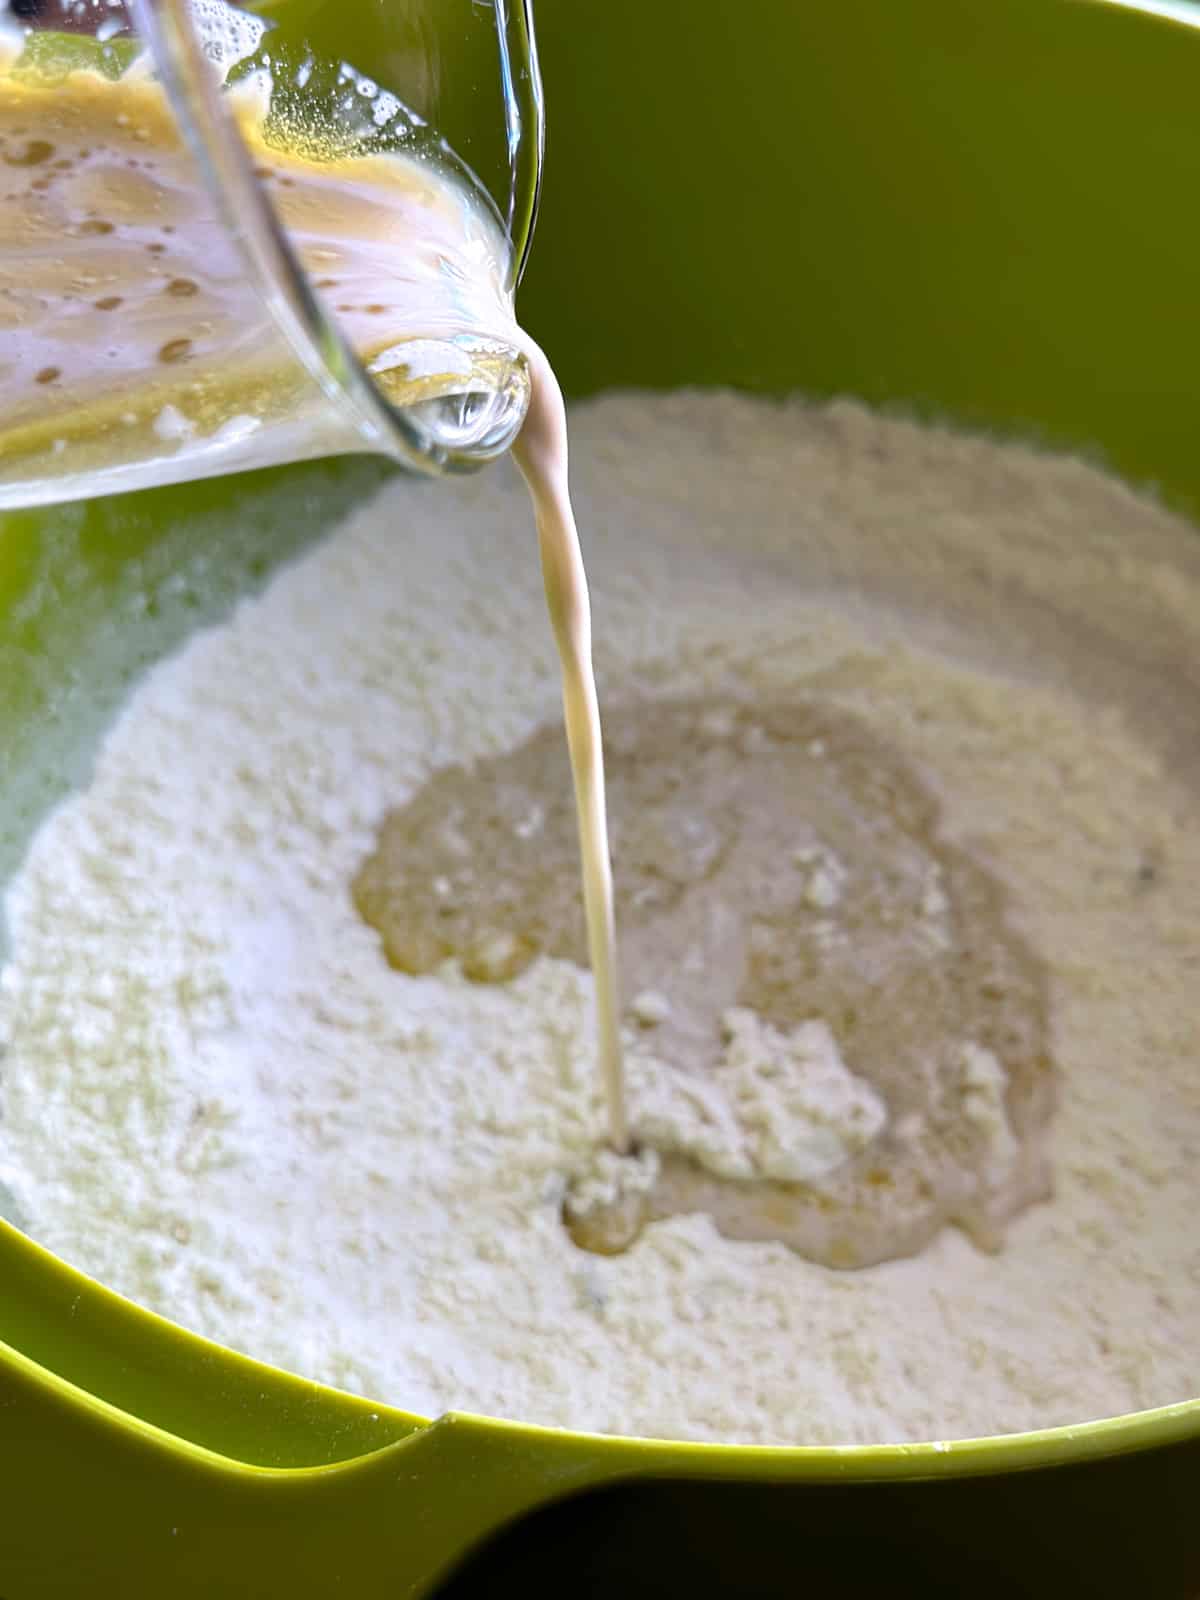
- In a large cup or bowl, combine the sugar, yeast, water, and milk.
- Set aside for 5 minutes until the mixture starts to froth. Add the olive oil to the yeast mixture and stir well.
- Combine the flour, salt, and thyme leaves in a large bowl.
- Gradually add the yeast mixture to the flour mix. Mix well each time you add the yeast mixture.
- Transfer the dough mix to a lightly floured working surface.
- Knead for 4-5 minutes until the dough becomes smooth.
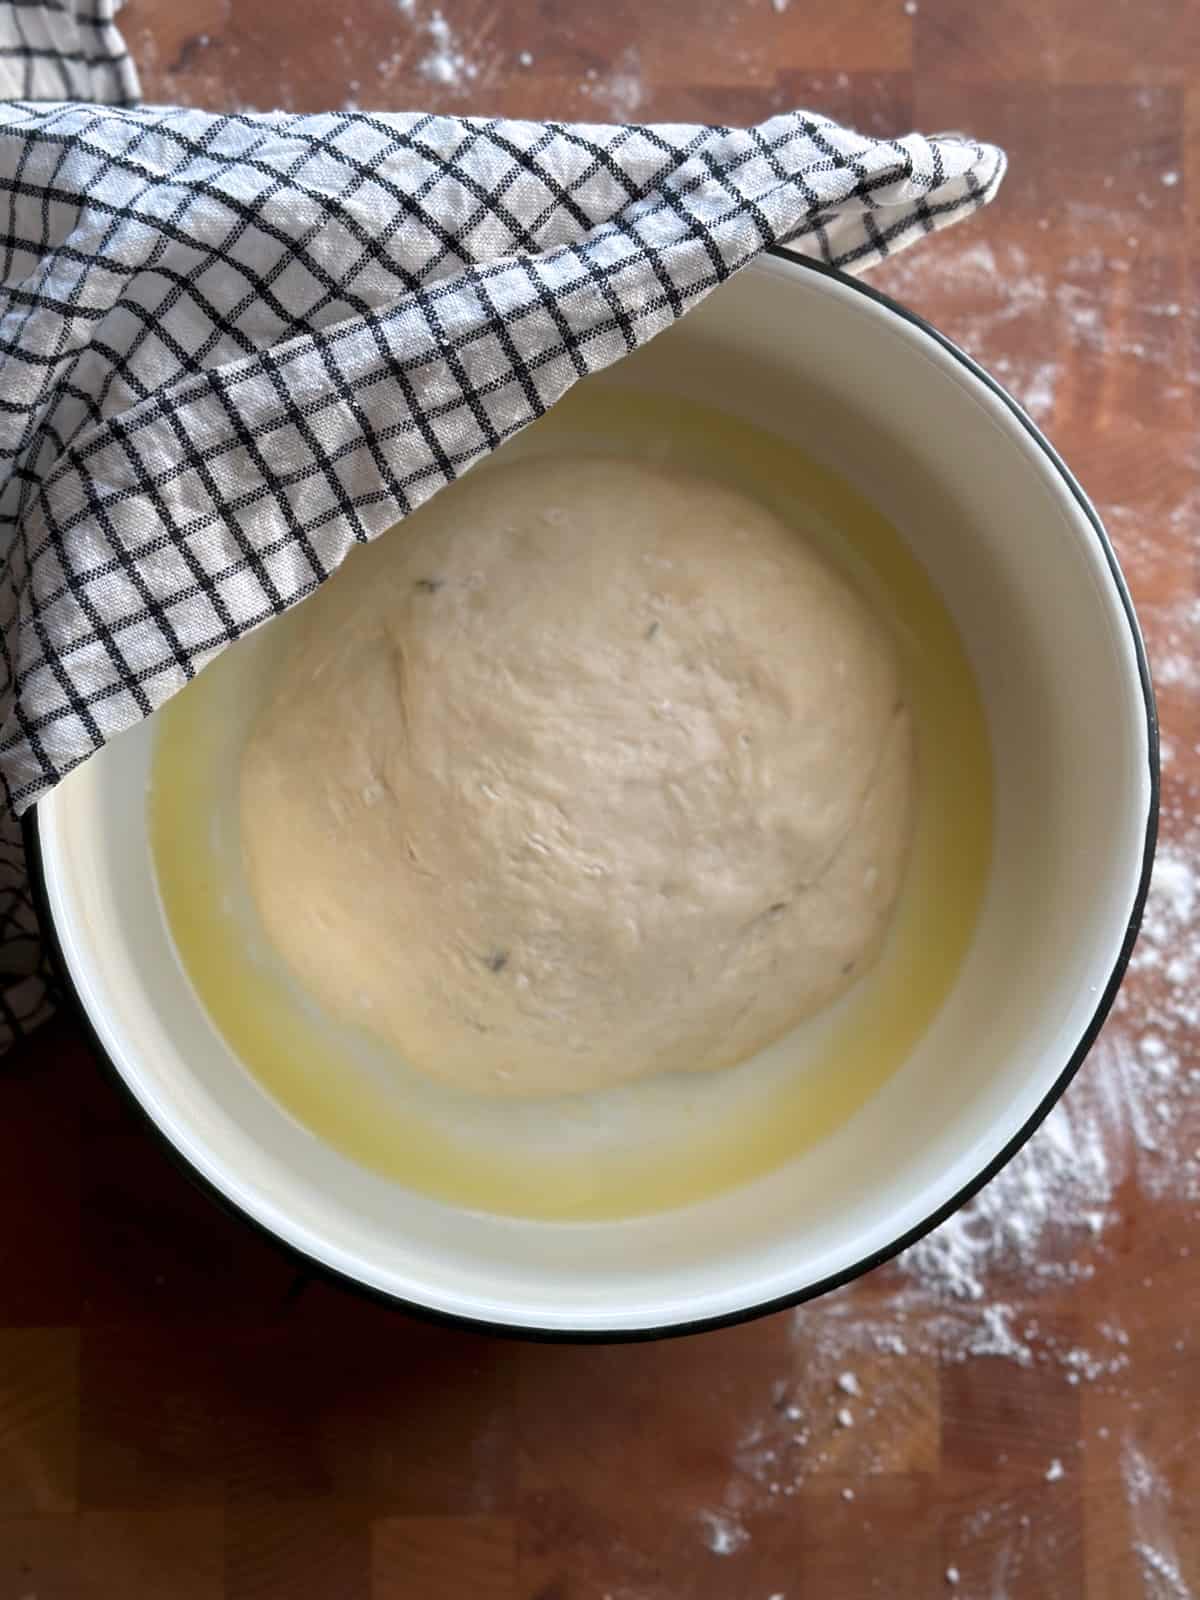
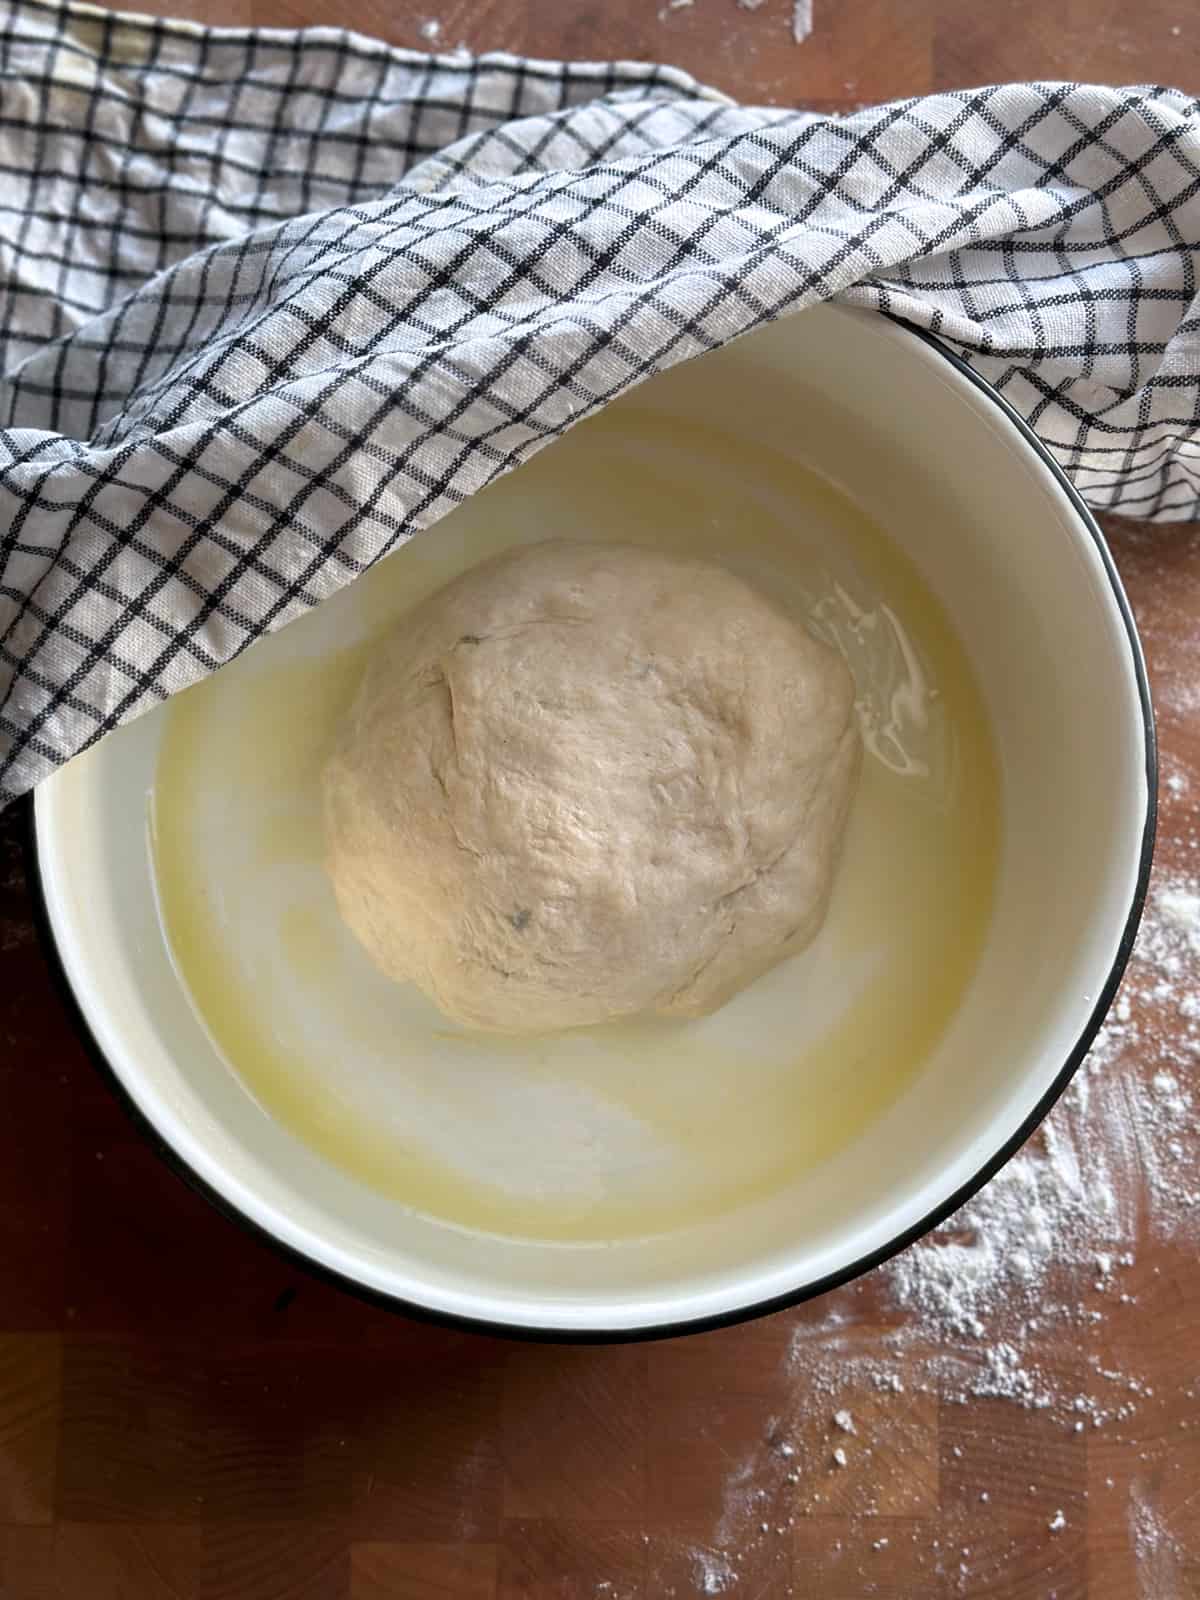
- Brush a bowl with some olive oil and add the dough. Cover with a damp, warm towel and let the dough rest for 40 min to an hour.
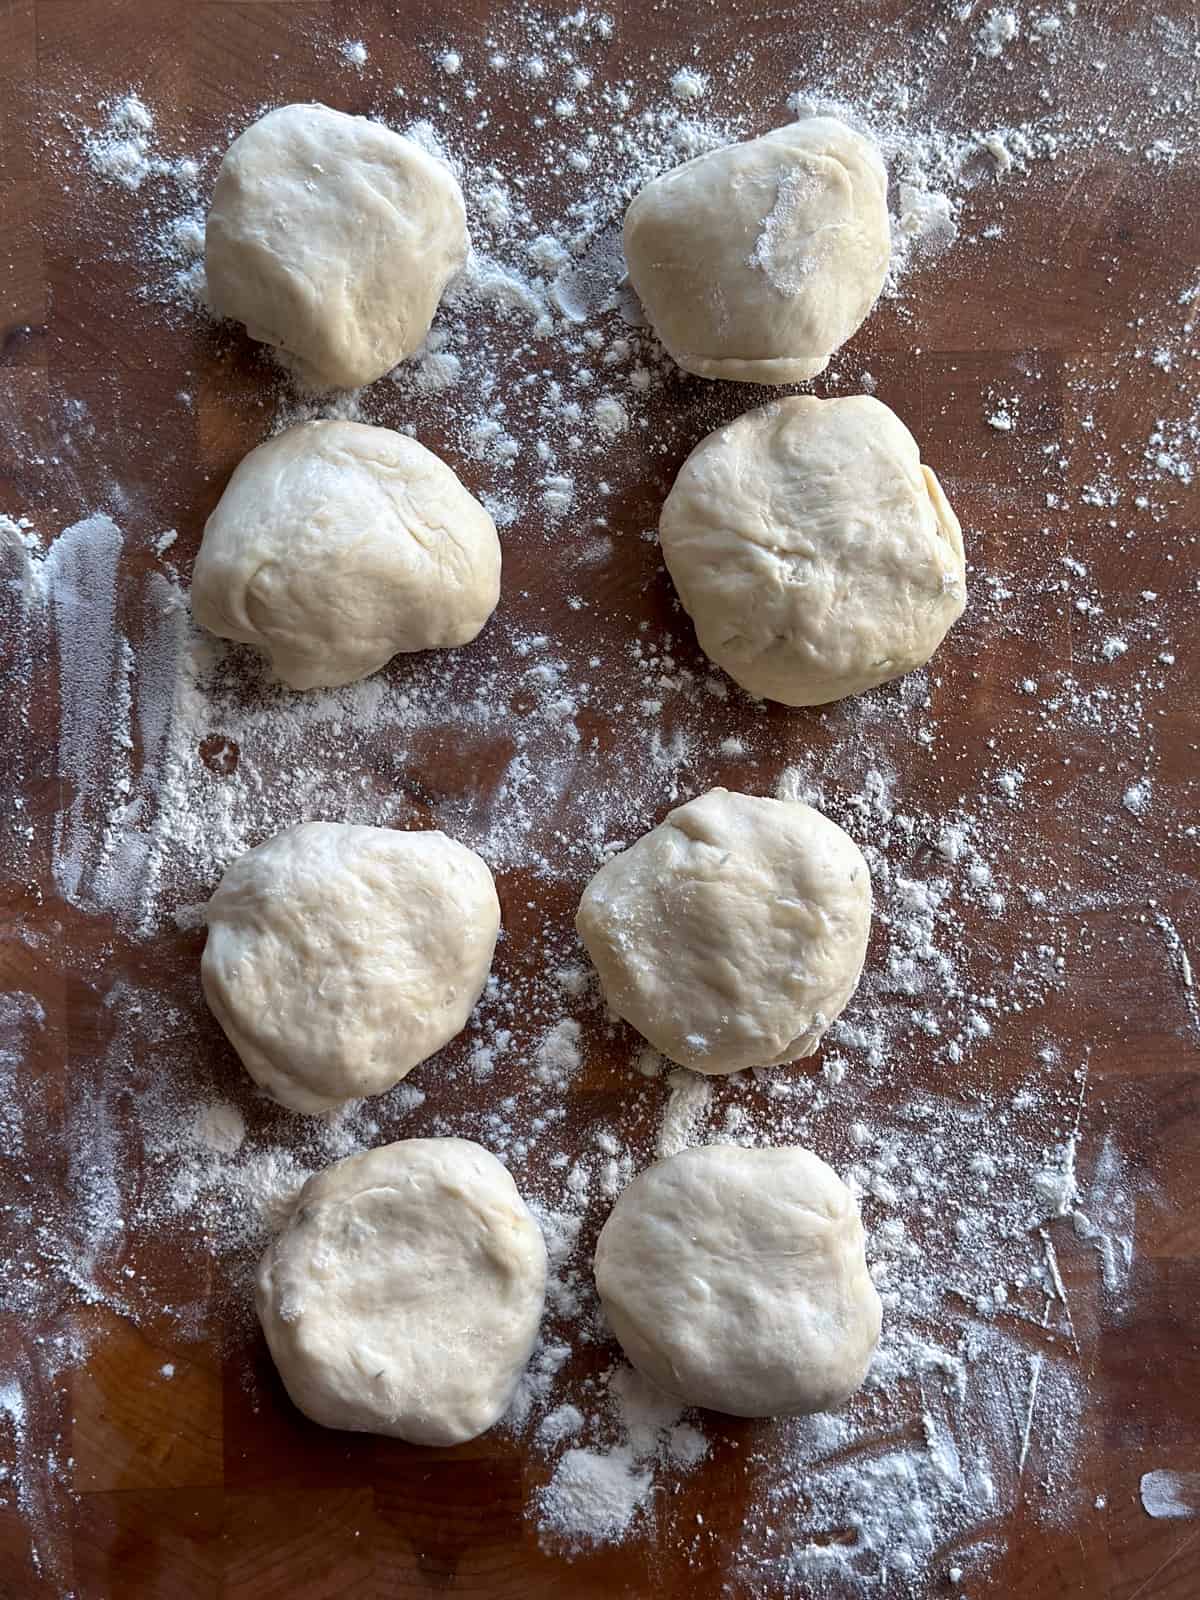
- Add a little flour to your working surface.
- Cut the pita dough into eight equal-sized pieces.
Turn them into balls and flatten them up.
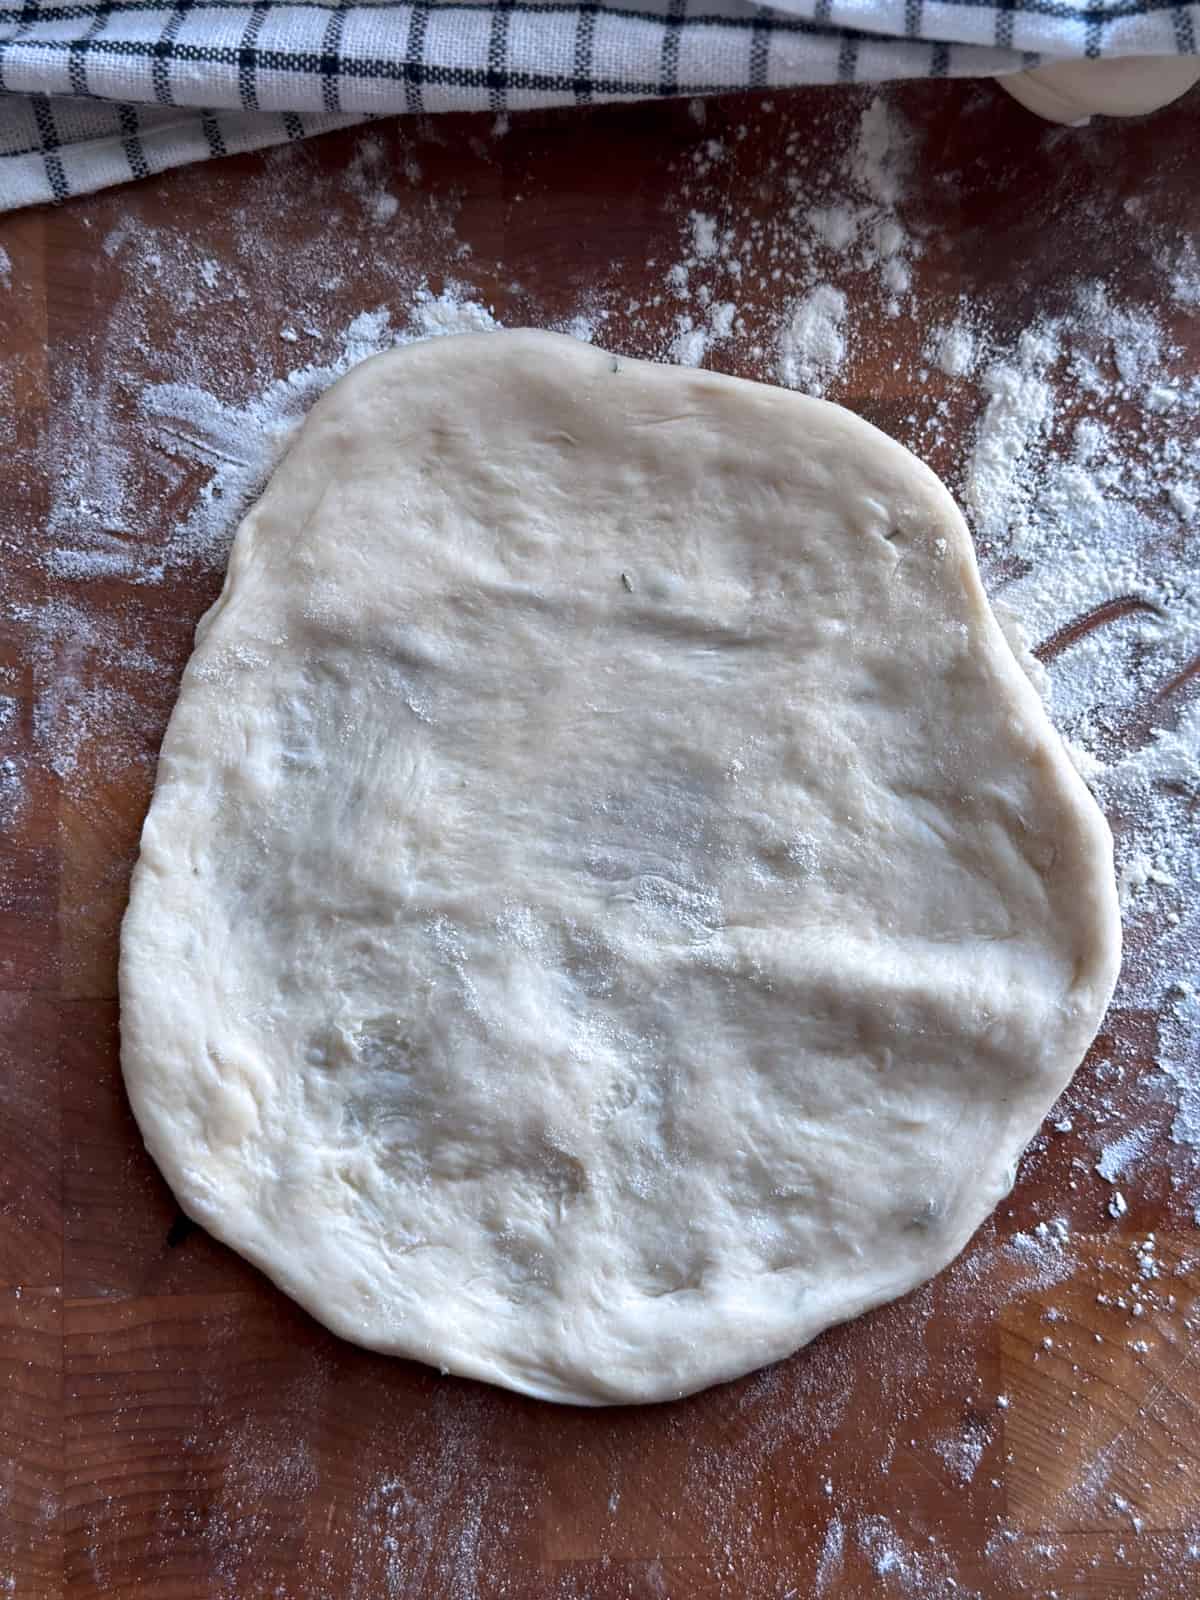
- With your hands, gently stretch each piece of dough into a circle about 7 to 8 inches wide, just as you would for pizza dough.
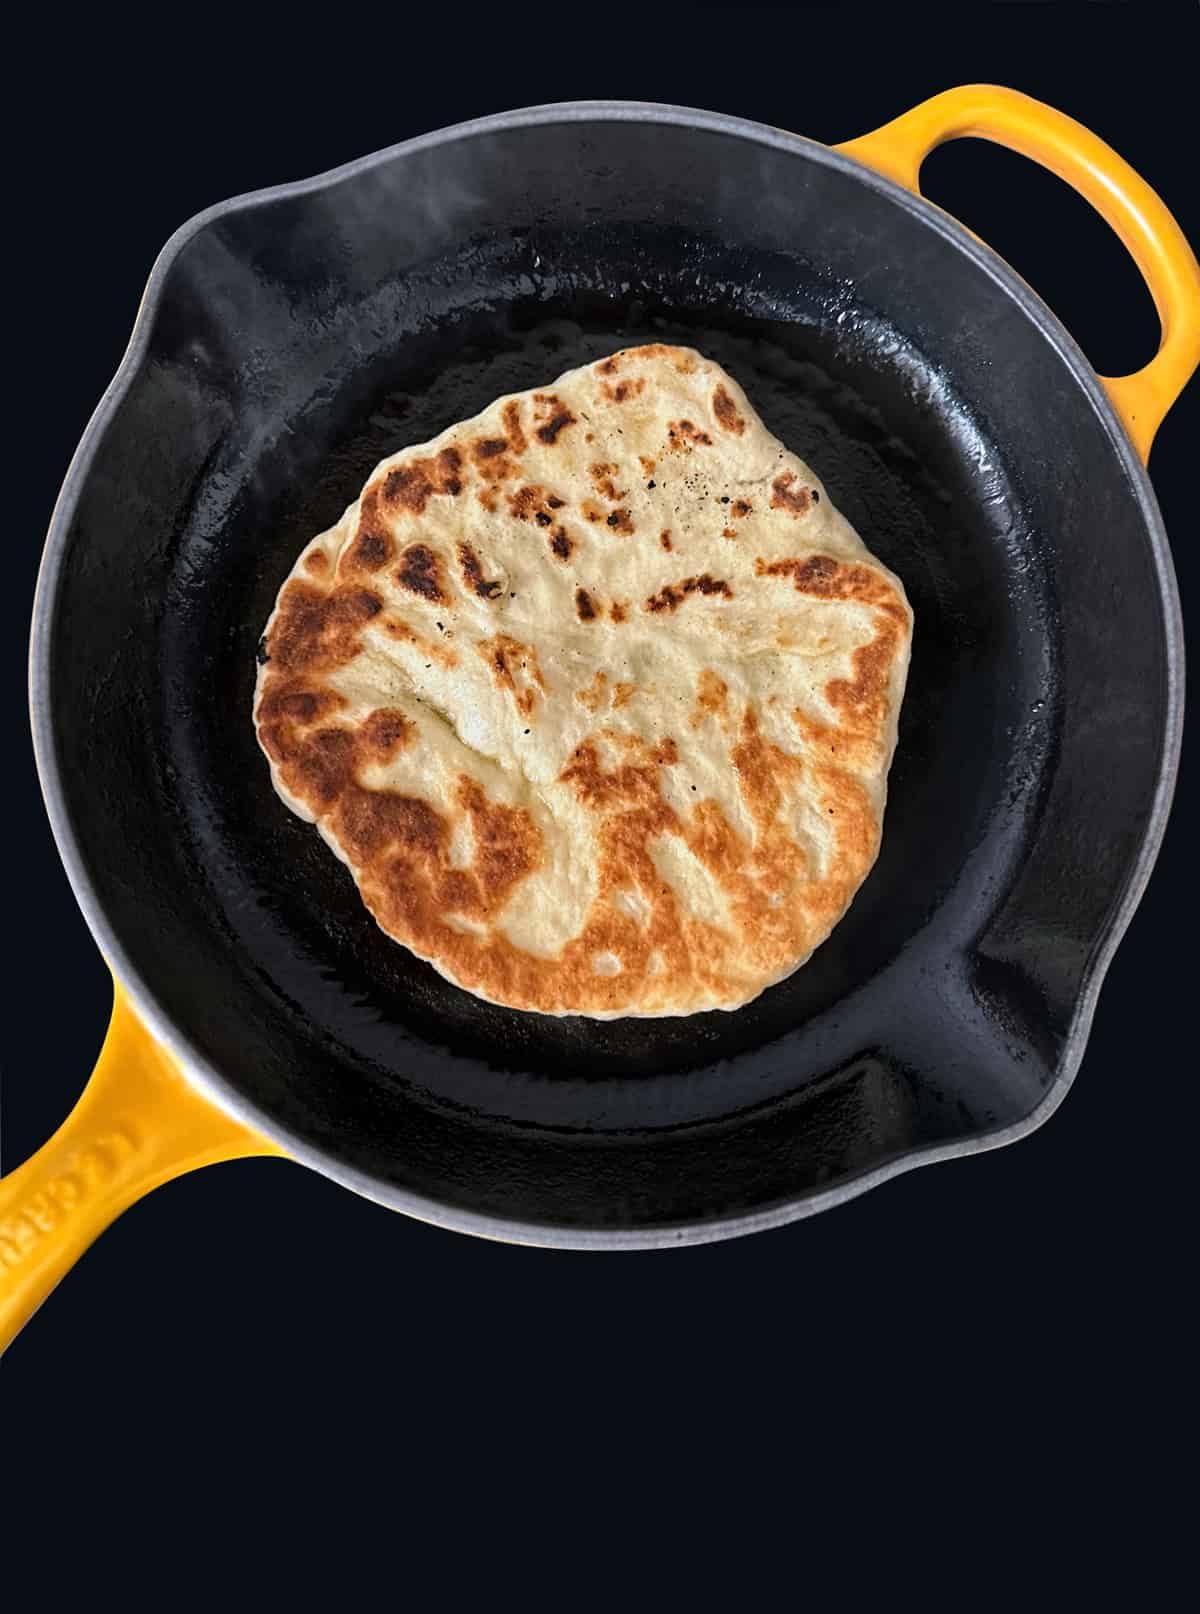
- Place a cast-iron skillet (or a regular frying pan) over high heat. Add one teaspoon of olive oil. When the oil is hot, add a pita and cook for 1 minute on each side, until it puffs up slightly and starts to brown. Add a little olive oil to the pan every two pitas. The pitas will develop some charred parts, which, in my opinion, add great flavor.
TIP: Alternatively, you can cook Greek pita bread on the grill. Brush the pitas with a bit of olive oil and grill for a minute or so on each side.
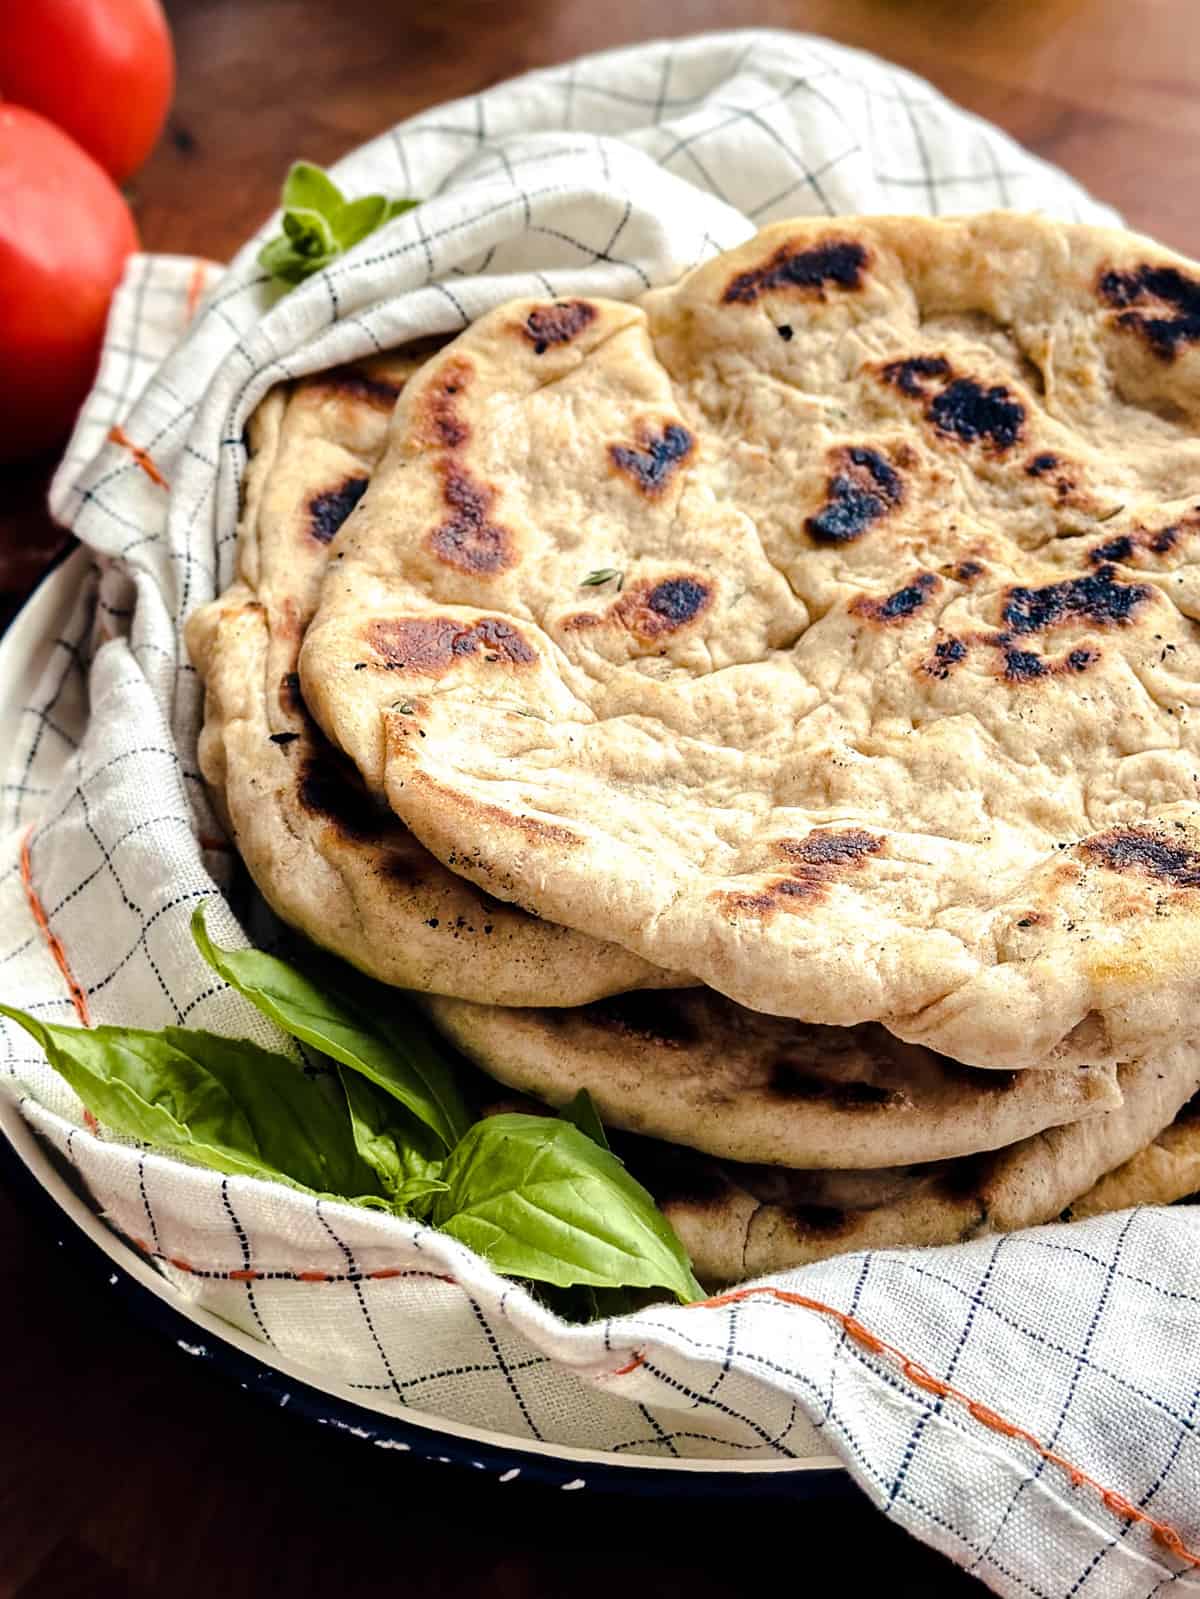
How to eat Greek pita bread
- Use warm Greek pita to wrap around chicken skewers or pork gyro with tzatziki, tomato, and onion for a classic Greek street food experience.
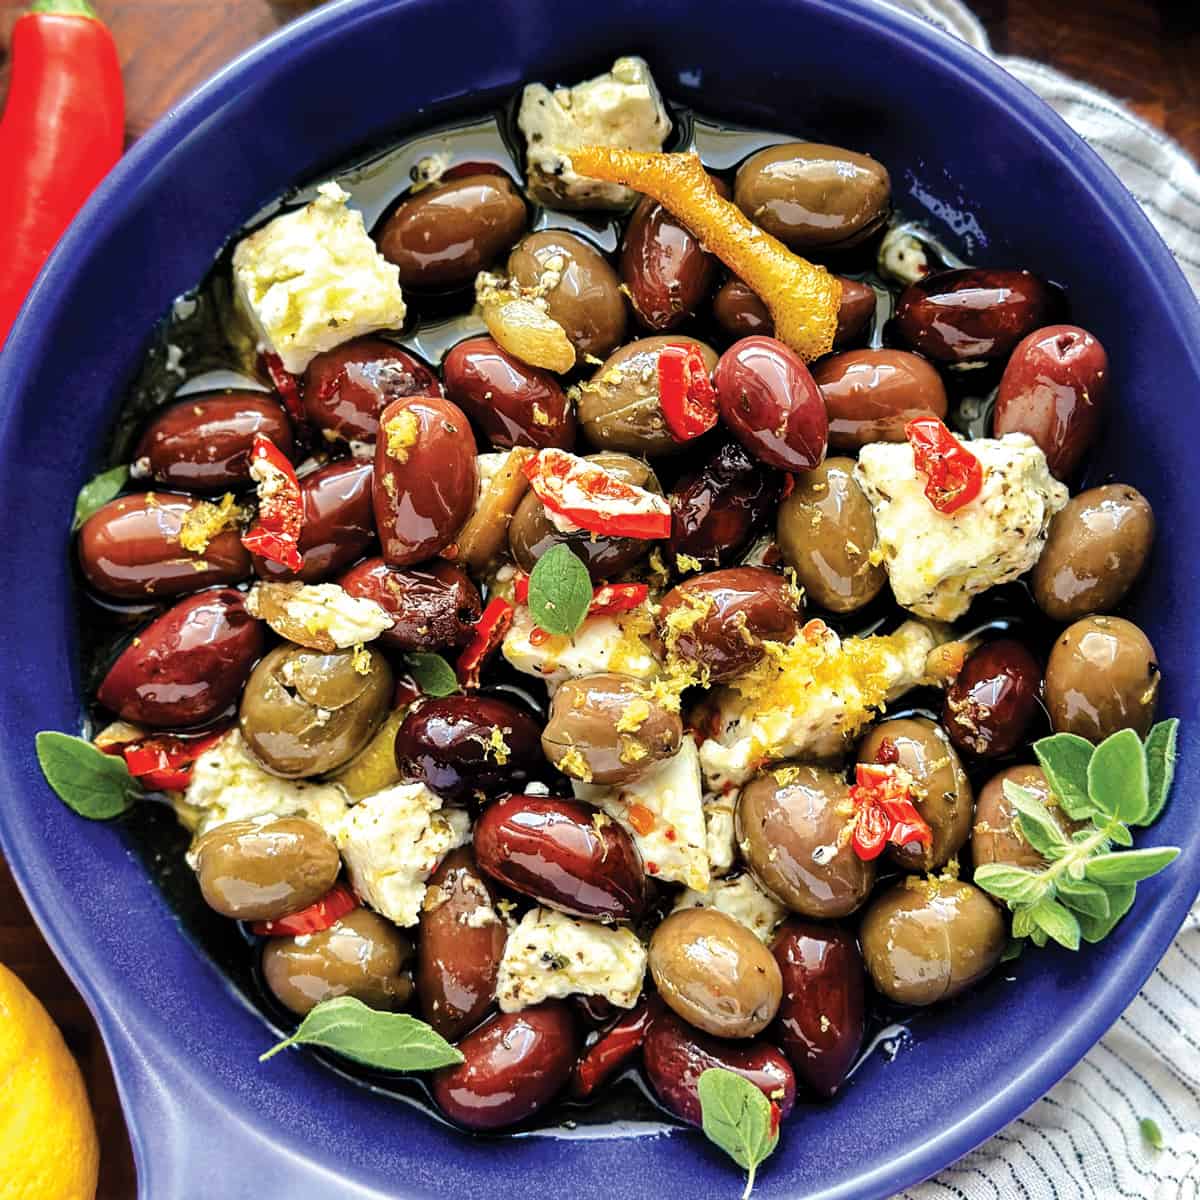
- Cut pita into wedges and use it to scoop up classic Greek dips like tzatziki – garlic yogurt cucumber dip, tirokafteri – spicy whipped feta, or a melitzanosalata-smoky eggplant dip.
- Cut some warm pitas, add tomato wedges, olives, a bit of cheese, and a drizzle of olive oil like in our chicken gyro bowl and this grilled chicken bowl with tzatziki.
- Brush pita with olive oil, sprinkle with oregano and sea salt, and lightly grill or pan-fry until crisp. Serve as a simple snack or side to a Greek tomato horiatiki salad.
Storage and reheating
- Store at room temperature. Wrap tightly in foil, plastic wrap, or place in a zip-top bag. Store at room temperature for up to 2-3 days.
- Keep away from moisture and heat to prevent molding.
- Store in the Refrigerator. Refrigeration might dry out pita, but if needed, wrap tightly in plastic or place in an airtight container and use within 5–6 days. Warm it t before serving to bring back softness and flavor.
- Freeze it. This is best for long-term storage. Stack the pitas with parchment paper between each to prevent sticking. Wrap them in plastic wrap or foil, then place in a freezer-safe bag and store for up to 3 months.
- Reheat. My preference is heating on a dry skillet for 30–60 seconds per side. You may also use the oven, wrap in foil first and heat at 175°C / 350°F for 5–7 minutes.
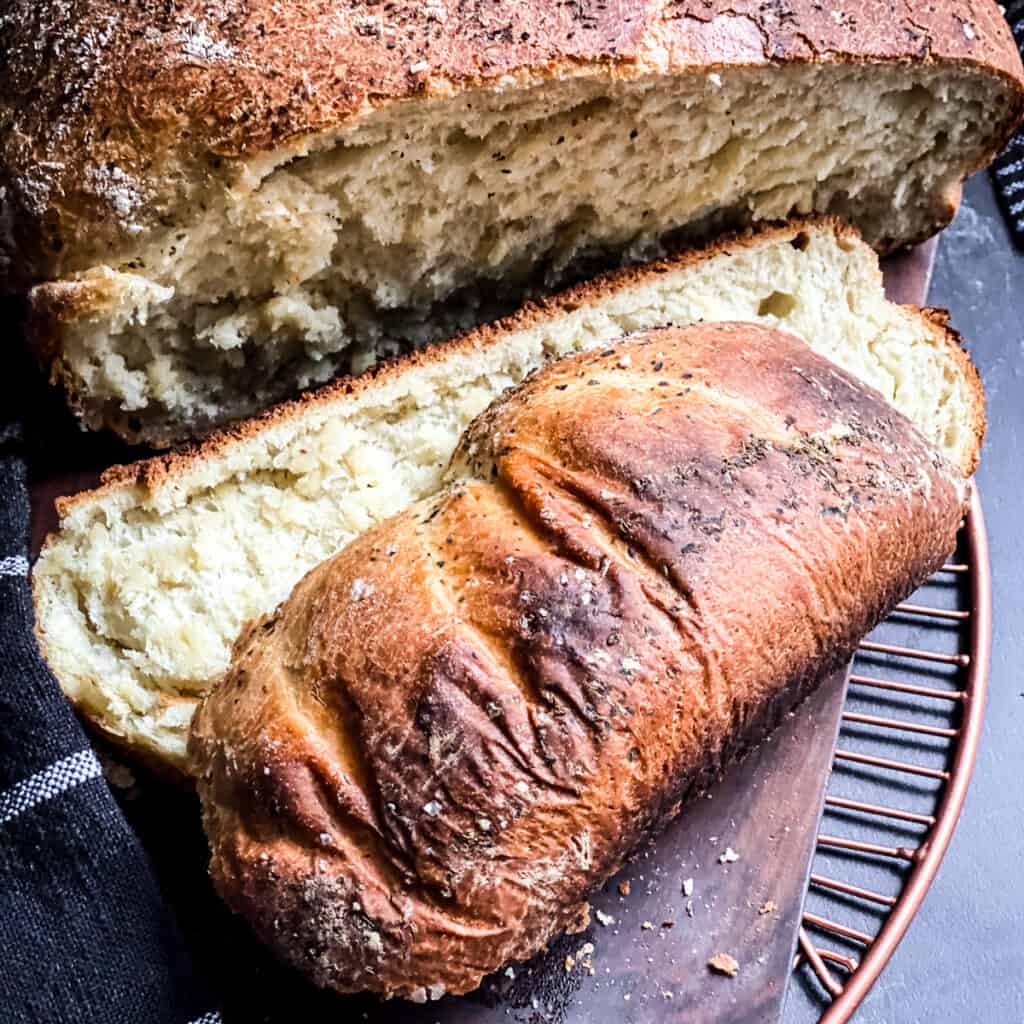
More Greek breads


Cooked it? Rate it!
If you tried this recipe, I’d love to know how you liked it — drop a comment below or tag me on Instagram @thegreekfoodie__.
How to make Greek pita bread
Equipment
- Cast iron pan
- 2 medium-large bowls
Ingredients
- 2 1/2 cups all purpose flour
- 1 teaspoon kosher salt
- 1 teaspoon fresh thyme leaves, finely chopped
For the yeast mixture
- 2 teaspoons active dry yeast
- 1 teaspoon sugar
- 1/2 cup water, at room temperature
- 1/4 cup milk, at room temperature
- 2 tablespoons extra virgin olive oil
You will also need
- extra virgin olive oil, for the bowl and for cooking
- all purpose flour, for surface
Instructions
- Combine the sugar, yeast, water, and milk in a bowl. Set aside for 5 minutes until the mixture starts to foam.
- Combine the flour, salt, and thyme leaves in a large bowl.
- Add the olive oil to the yeast mixture and stir well.Gradually add the yeast mixture to the flour mix.
- Transfer the dough mix to a lightly floured working surface. Knead for 4-5 minutes until the dough becomes smooth.
- Brush a bowl with some oil and add the dough. Cover with a damp towel and let it rest for 40 minutes to an hour, until it rises and doubles in size.
- Cut dough into 8 equal-sized pieces.
- With your hands, gently stretch each piece of dough to a circle about 7-8 inches wide.
- Place a cast iron pan over high heat. Add 1 tsp olive oil.
- Cook each pita bread for 1 minute on each side in the pan, until it puffs up a little and starts browning. Add some olive oil to the pan after cooking 1-2 pitas.Enjoy!
Notes
- If you don’t have fresh thyme, use fresh oregano or sage. If none is available use dry oregano, thyme, Italian seasoning or even herbs de Provence.
- Alternatively, you can cook Greek pita bread on the grill. Brush the pitas with a bit of olive oil and grill for a minute or so on each side.
Nutrition


OMG this pita was sooooo yummy. I made it with my 10 year old daughter this afternoon and it was so easy and the whole family absolutely loved it. Thank you!!
Thank you so much Julie! You made my day!
Perfect!!! Your recipes are always spot on!
Sean Henry
Thank you For sharing your recipe. This pita is by far the best recipe and the taste is amazing.
Thank you so much Estie! So happy you liked it.
This is the best pita recipe I have ever tried! I did not expect it to be so unbelievably tasty and fluffy and delicious! I cheated a bit because I didn’t have much time. It was past momma juice o’clock so I after making the yeast mixture, I chucked all the ingredients in the Ninja bowl, whizzed for 3′ until it combined and then in the oiled bowl and in the oven, setting: proof, bam! 15′ later perfect!
Thank you Jenny!! You rock!!
Thank you, Eri! You made my day. I love those pitas and it’s so good to know they come out alright even rushed!. I am actually going to try your method! xo Jenny
Gotta love how simple and easy this recipe looks! Going to try this out on the weekend! I have a dairy sensitive so I’ll try with a plant milk – hopefully all goes well 🙂
Plant milk will work fine! Thanks so much, Christa!
These are such great pita. So light and fluffy…and super easy to whip up. Thank you for this great recipe!
Thanks so much, Bernice!
I have always wanted to make my own pita bread, but was too afraid that it would be extremely difficult haha. You make it seem so manageable, I am definitely going to give this a try! Thanks so much for the recipe 🙂
Hope you like it, Cathleen!
Thanks so much!
So glad that I’ve found a great pita bread recipe. I love making a big batch to enjoy over the week but wanted to find a new recipe to enjoy. This one is perfect!
This was my first time making homemade pita bread and honestly, I never wanna go back to storebought again! So good!
Love pita bread, but I’ve never made it at home! Thanks for sharing!
This was my first time making homemade pita bread, and I loved it! It was so easy, and my whole family loved them, we served them with some homemade curry, so delicious!
I love making my own flatbreads. I’ve not tried pita bread though. Yours looks so soft and sounds so delicious with the thyme mixed in.
This is such a great recipe! My pita bread came out so delicious and it was easy to make! Thank s for the recipe!
I have always wanted to try making pita bread at home and I finally tried it because your recipe looked pretty easy. I’m so glad I did because the steps were super simple to follow and the pitas came out perfectly!
I’ve wanted to make pita bread for ages. So happy I found your recipe, the step by step instructions are so helpful. Definitely going to give this a go, thank you so much for the recipe!
I’ve never made my own pita bread but this recipe looks pretty easy and your pita looks really really good. Definitely want to give this a try!
Just made it! Brilliant! So simple to make. Just a few ingredients.
Love this website as the instructions are so clear.
This is an authentic pitta.
You will not be disappointed.
Wow Jeff! Thank you! x Jenny
Perfect! Way better than store bought and super easy, Thank you!
That’s so amazing to read! Thank your so much Sean! x Jenny
I love it
Thank you Darin! x Jenny
This came out awesome! I made it today followed to a t except I replaced one cup of flour with whole wheat flour. Came out great! Thanks for sharing!
That’s awesome Nancy! Thank you so much! x Jenny
Can I use instant yeast in this recipe if.im out of active dry yeast?
Yes! You can substitute instant yeast in a 3:4 ratio — use 1½ teaspoons of instant yeast in place of the 2 teaspoons of active dry yeast.
The only adjustment: skip the proofing step. Add the instant yeast directly to the flour instead of dissolving it in the warm liquid first. Everything else in the recipe stays the same, including the rise time.
Enjoy your pitas! x Jenny
Thank you! I’m seeing my.mother for the first time in almost 3 years and I needed a good recipe for pitas for the gyros I’m cooking for her!
OMG, that’s so precious, seeing your mom after three years!
I hope you both love the pitas with the gyro.
Have a beautiful reunion! x Jenny